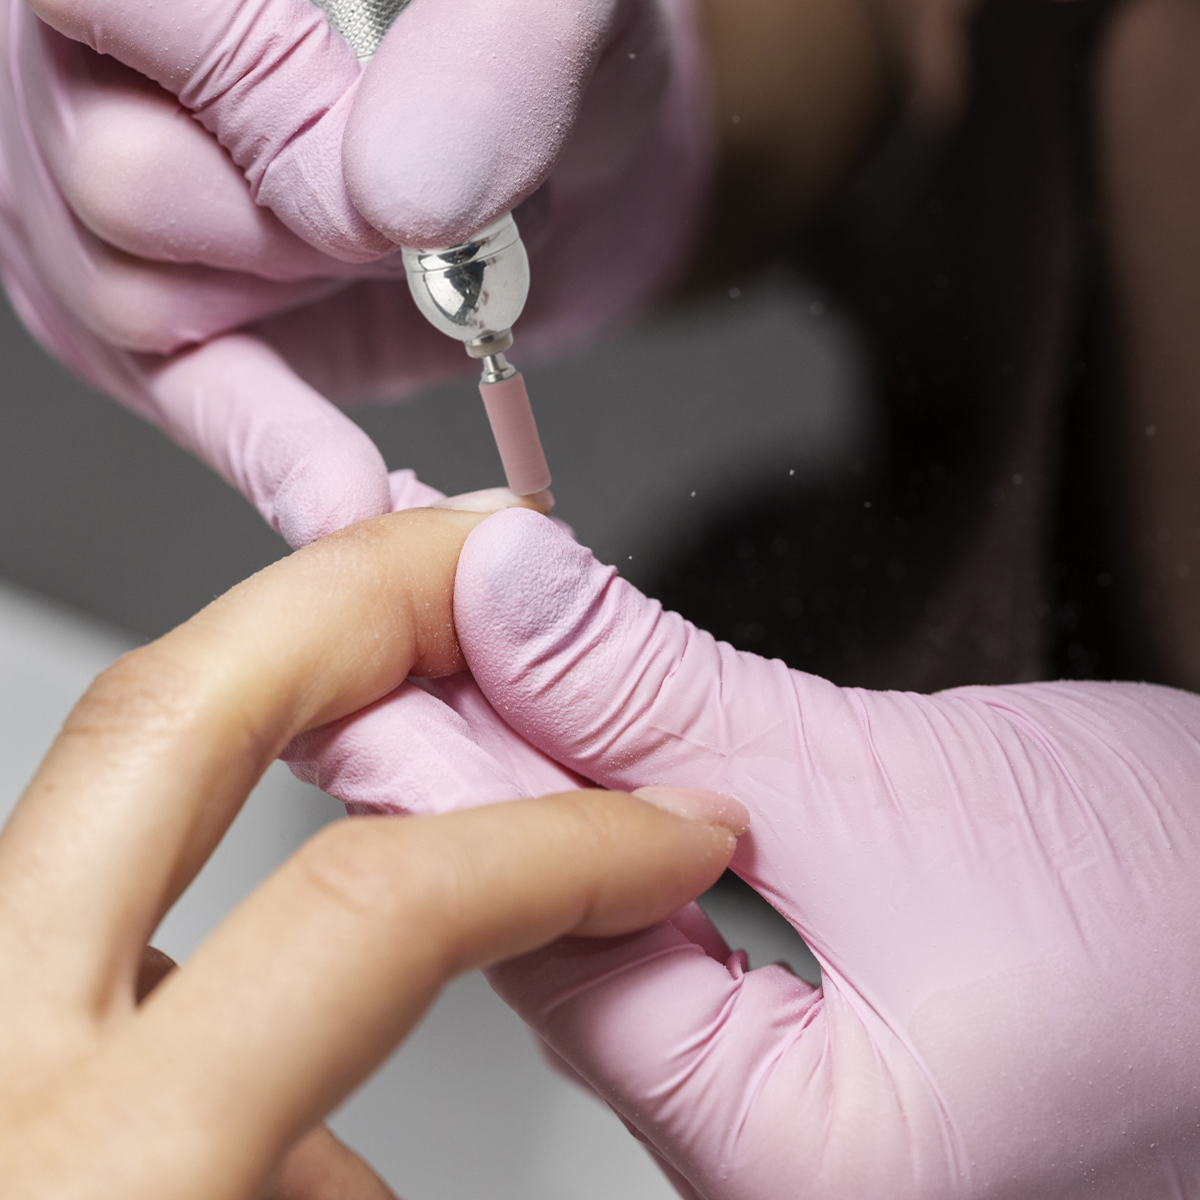
If you have ever wondered how professional nail technicians achieve such smooth, perfectly shaped nails in minutes, the answer often comes down to one small but mighty tool: the sanding band. These tiny abrasive sleeves fit onto an electric nail file and have quietly revolutionized at-home and salon nail care. In this review, I will explain why sanding bands are the best tool for achieving perfect nails, how to use them correctly, what precautions to take, and share tips that will elevate your nail care routine.
Why Sanding Bands Are the Best Tool for Perfect Nails?
Sanding bands offer a combination of speed, precision, and hygiene that manual files simply cannot match. Whether you are shaping natural nails, removing gel polish, or refining acrylic enhancements, a sanding band does the job faster and more evenly.
First, they save time. A hand file requires repetitive motion and effort. An electric file with a sanding band spins at a controlled speed and removes material quickly. This reduces hand fatigue and shortens your manicure time significantly.
Second, they provide precision. Sanding bands come in different diameters, including mini sizes that reach tight areas around the cuticle and sidewalls. This allows you to shape and refine without touching the skin. The result is a cleaner, more professional finish.
Third, they are hygienic. Sanding bands are disposable. You use one band per client or per session and then discard it. This eliminates cross-contamination. Unlike metal bits that must be cleaned and sterilised, sanding bands offer a simple, single-use solution that meets strict sanitation standards.
Fourth, they are versatile. With different grits, you can use the same tool for heavy product removal, surface smoothing, and delicate natural nail prep. A single mandrel and a few bands can replace several hand files and buffers.
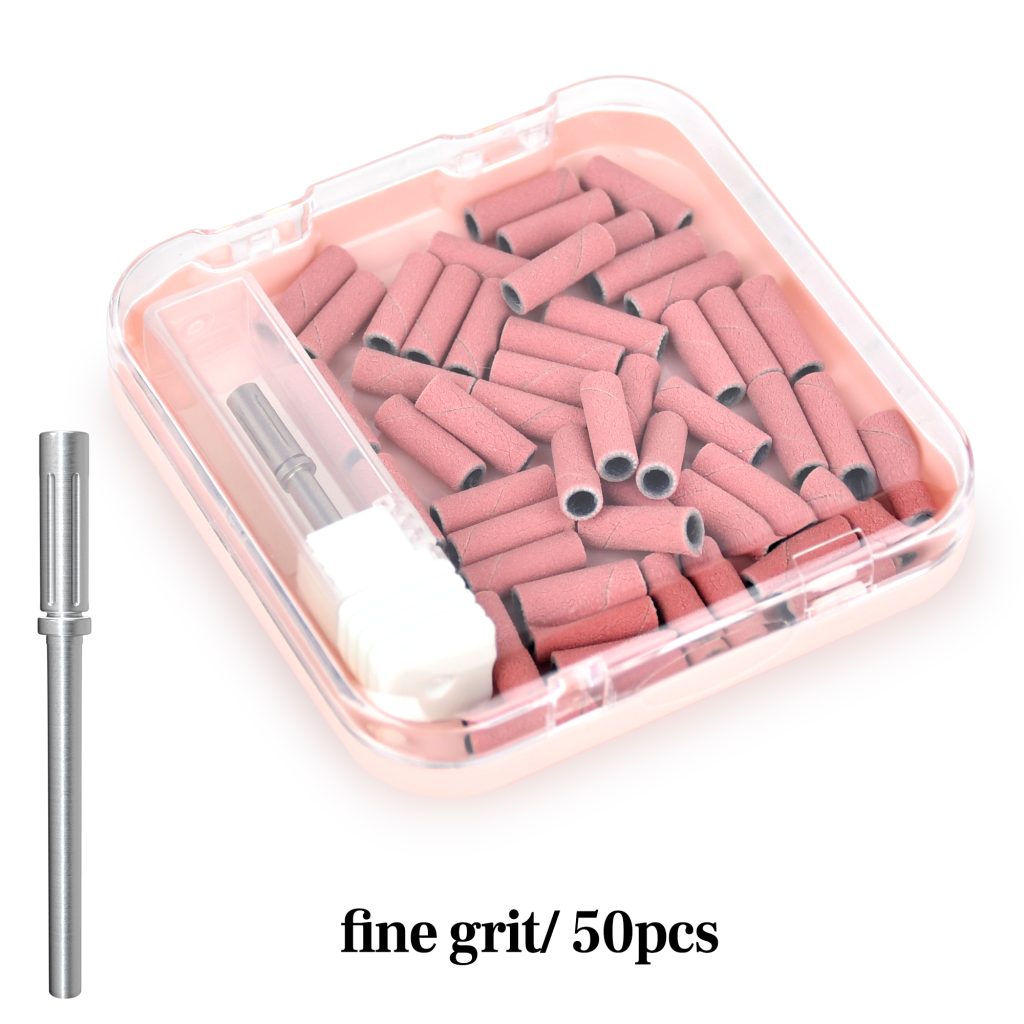
Finally, they are cost-effective. A pack of sanding bands costs very little, and each band can handle a full service. For anyone who does their nails regularly, the savings add up quickly.
How to Use Sanding Bands Correctly?
Using sanding bands safely and effectively comes down to three things: grit selection, speed, and technique.
Choose the right grit. Sanding bands are graded by grit. Lower numbers are coarser; higher numbers are finer. For natural nail prep and cuticle work, always use a fine or extra-fine grit—180 to 240. Medium grit (120–150) is for removing gel polish or refining artificial nails. Coarse grit (80–100) is only for heavy product removal on acrylics or hard gels. Never use coarse grit on natural nails.
Set the correct speed. For natural nail work, keep the e-file between 5,000 and 10,000 RPM. For gel removal, you can go slightly higher, but always start low. High speed with a fine grit still creates heat if you press too hard. Start low and increase only if needed.
Use light pressure. Let the band do the work. Pressing down creates friction, heat, and removes too much material. The goal is to glide the band across the surface, not to dig in. Apply about as much pressure as you would use to pet a cat—light and gentle.
Keep the band moving. Never hold the band in one spot for more than a second. Move it in smooth, overlapping strokes. This prevents heat spikes, grooves, and thinning of the nail plate. Think of it as painting with a brush, not stamping with a seal.
Hold the band flat. For surface work, keep the band parallel to the nail plate. For sidewall work, angle it slightly so the side of the band contacts the area you want to clean. Do not use the tip to dig into the nail.
Work in one direction. Use gentle strokes from cuticle to free edge, or from sidewall to centre. Avoid sawing back and forth.
Replace bands often. Sanding bands are single-use. Once the abrasive wears down, it becomes less effective and generates more heat. Discard after each client or when the band feels smooth.
Precautions to Keep in Mind
While sanding bands are safe when used correctly, there are important precautions to follow.
Avoid heat buildup. Heat is the biggest risk. It can burn the nail bed and cause permanent damage. Keep the band moving, use low speed, and stop immediately if you feel warmth or pain. A good rule is to lift the bit away from the nail every few seconds to let it cool.
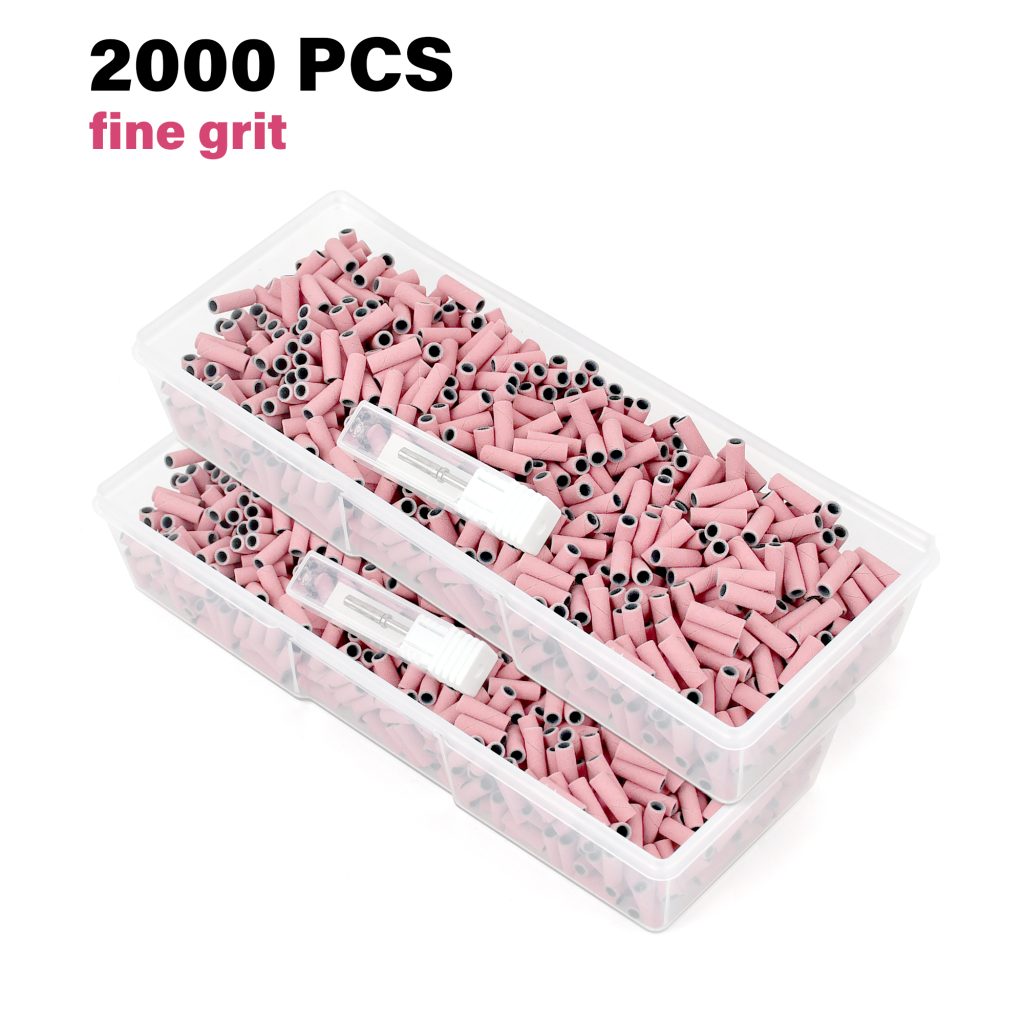
Never use coarse grit on natural nails. Coarse bands are for product removal only. On natural nails, they can thin the plate, create deep grooves, and cause long-term damage.
Do not file living skin. Sanding bands are for the nail plate and dead tissue only. Never file the living cuticle or sidewalls. This causes pain, bleeding, and infection risk.
Wear protective gear. Acrylic and gel dust is fine and can irritate the lungs and eyes. Wear a dust mask and safety glasses. Work in a well-ventilated area.
Disinfect your mandrel. The mandrel itself is reusable. Wipe it with a disinfectant wipe between uses to remove dust and product residue.
Keep bands clean and dry. Store them in a sealed container. Dust and moisture can degrade the abrasive over time.
Tips to Improve Your Nail Care Results
Here are a few extra tips to help you get the most from your sanding bands.
Prep your nails first. Remove old polish, shape the nails with a hand file, and push back the cuticles. Dry the nail surface and remove oils with a dehydrator. Clean nails allow the sanding band to work more efficiently.
Use a two-step approach. Start with a coarser band to remove bulk, then switch to a finer band for smoothing and finishing. This reduces the risk of over-filing.
Practice on fake nails. If you are new to e-filing, practice on a fake nail or a practice hand. Learn the feel of the tool and the speed before working on your own nails.
Finish with a hand file. For natural nails, finish the edges with a fine hand file. This gives you maximum control and a smoother result.
Seal and hydrate. After using a sanding band, wipe away dust, apply cuticle oil, and follow with hand cream. This restores moisture and keeps the nails healthy.
Replace bands regularly. A worn band cuts inefficiently and generates heat. Do not try to stretch the life of a band. Fresh bands give better results.
Invest in a good e-file. The quality of your e-file matters. A machine with adjustable speed and low vibration will give you more control and a more comfortable experience.
Final Verdict
Sanding bands are a small investment with a big return. They save time, improve precision, and support better hygiene. They outperform manual files and buffers in speed, access, consistency, and versatility. When used with the right grit, low speed, light pressure, and constant motion, they help you achieve professional results without damaging the natural nail. Whether you are a professional technician or a dedicated DIYer, sanding bands deserve a place in your nail care kit. Treat them with respect, follow the precautions, and enjoy flawless nails every time.
Read also: Wedding Nails 2026: Trends, Timing, and Timeless Choices