I remember the confusion I felt the first time I sat in a salon chair and the technician asked, “Acrylic or gel?” I had no idea what the difference was. I chose acrylic because it sounded familiar, but I spent the next three weeks wondering if I had made the right choice.
Now I know: both acrylic and UV gel nails are excellent enhancements, but they serve different needs and preferences. Here is everything you need to know to make an informed decision.
What Is the Difference Between Acrylic and UV Gel Nails?
The fundamental difference lies in how they harden and how they are removed.
Acrylic nails are formed by mixing a liquid monomer with a powder polymer. The mixture forms a soft bead that is sculpted onto the nail. It hardens in air within minutes through a chemical reaction. Acrylics are extremely strong and durable, making them ideal for those who want maximum length and strength.
UV gel nails use a pre-mixed gel that is applied like polish and cured under a UV or LED lamp. The light triggers a chemical reaction called polymerisation, hardening the gel into a durable coating. Gels are more flexible than acrylics and have a natural, glossy appearance.
The other key difference is removal: acrylics must be filed off, while soft gel can be soaked off with acetone (hard gel requires filing).
| Feature | Acrylic Nails | UV Gel Nails |
| Application | Liquid + powder; hardens in air | Pre-mixed gel; cures under lamp |
| Durability | Extremely strong; rigid | Strong but more flexible |
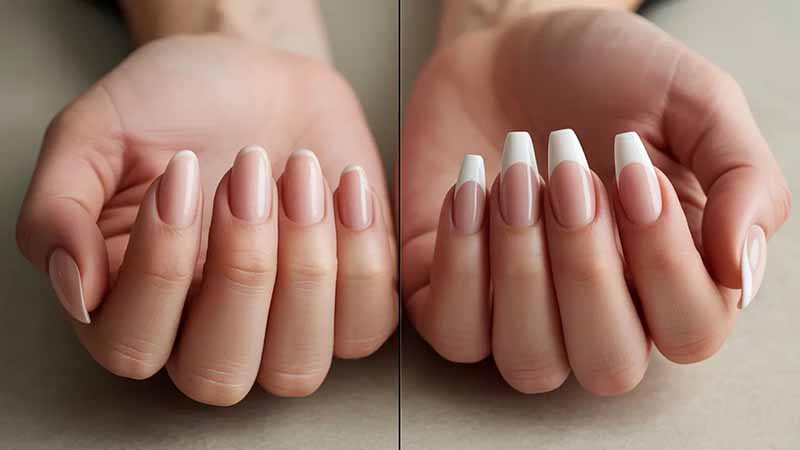
| Appearance | Can look thick if not filed well | Natural, glossy, smooth |
| Odour | Strong chemical smell | Virtually odourless |
| Removal | Must be filed off | Soak-off (soft gel) or filed (hard gel) |
| Flexibility | Rigid; can snap under pressure | Flexible; moves with natural nail |
| Best for | Maximum strength, dramatic length | Natural look, glossy finish |
The Application Process: Acrylic vs. Gel
How Acrylic Nails Are Applied
Step 1: Preparation. The natural nail is cleansed, shaped, and lightly buffed. Cuticles are pushed back. A primer is applied to help the acrylic adhere.
Step 2: Applying the tips (if needed). For extensions, pre-shaped plastic tips are glued onto the natural nail.
Step 3: Mixing the acrylic. The technician dips a brush into the liquid monomer, then into the powder polymer, forming a small bead. The bead is placed on the nail and sculpted into shape.
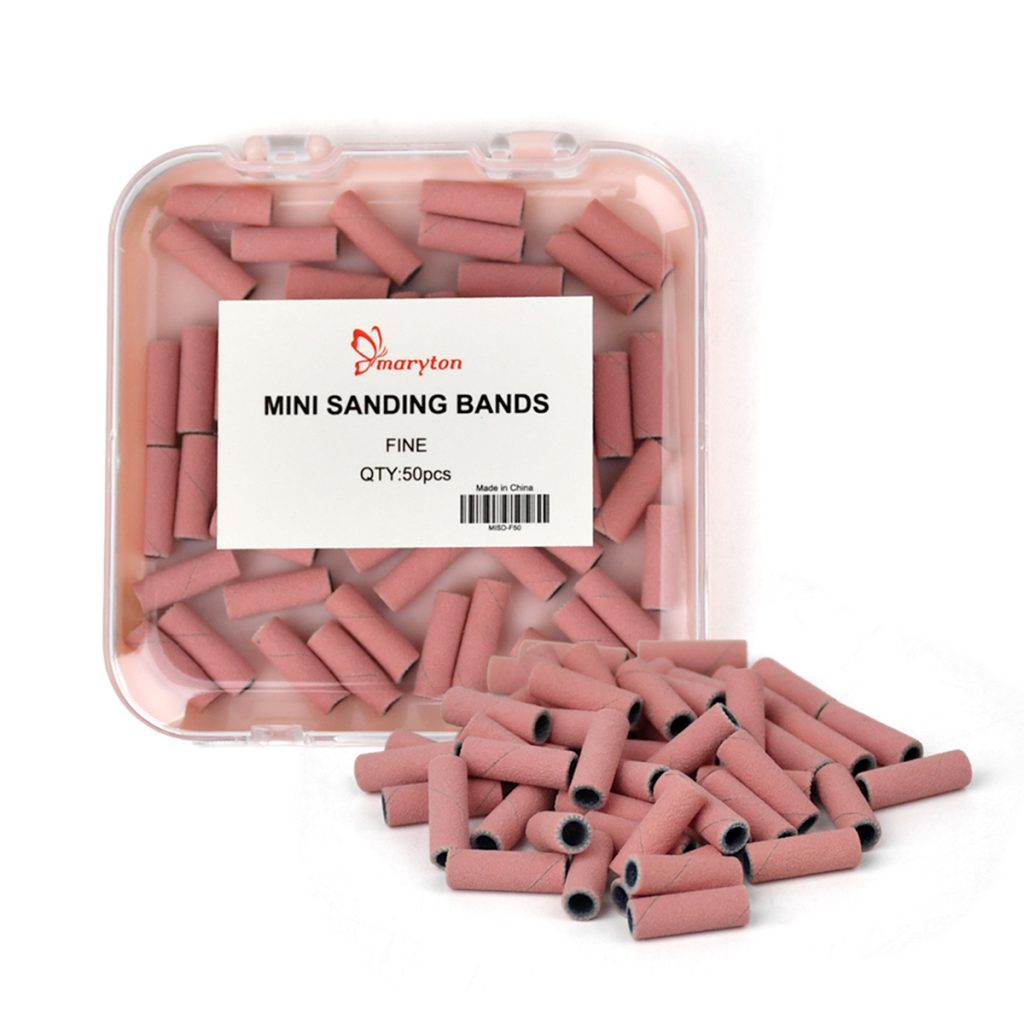
Step 4: Shaping and filing. As the acrylic hardens, the technician shapes it into the desired silhouette. A sanding band is used to refine the shape and smooth the surface.
Step 5: Finishing. The nails are buffed, and polish or top coat is applied.
How UV Gel Nails Are Applied
Step 1: Preparation. The natural nail is cleansed, shaped, and lightly buffed. Cuticles are pushed back. A dehydrator removes oils, and a primer is applied.
Step 2: Applying the base coat. A thin layer of gel base coat is applied and cured under the UV/LED lamp.
Step 3: Building the nail. Layers of builder gel are applied, sculpted, and cured under the lamp. The technician creates the apex (the stress point) and shapes the nail.
Step 4: Shaping and filing. Once the gel is fully cured, it is filed and shaped to the desired silhouette.
Step 5: Finishing. Colour, top coat, or a high-gloss finish is applied and cured.
Which Should You Choose? A Simple Guide
Your choice depends on your lifestyle, nail health, and aesthetic preferences.
Choose acrylic nails if:
- You need maximum strength and durability
- You want dramatic length or extreme shapes (stiletto, coffin)
- You prefer a more affordable option
- You do not mind the odor during application
- You are committed to regular salon visits for fills and maintenance
Choose UV gel nails if:
- You prefer a more natural, glossy look that feels lightweight
- You are sensitive to strong odours
- You want a flexible nail that moves with your natural nail
- You prefer a soak-off removal process that is gentler on natural nails
- You want to do your nails at home (requires a UV/LED lamp)
Practical Tips for a Better Nail Experience
Whether you choose acrylic or gel, these tips will improve your experience and protect your natural nails.
Choose quality over price. Cheap products often contain low-quality ingredients that can cause lifting, peeling, or allergic reactions. Invest in reputable brands of manicure supplies.
Find the right technician. A skilled technician can make all the difference. Look for someone with experience in the specific system you want.
Communicate your preferences. Be clear about the length, shape, and style you want. Bring a reference photo if possible.
Keep your natural nails healthy. Apply cuticle oil daily. Keep your natural nails moisturized and take breaks between enhancements to let them recover.
Avoid picking or peeling. This is the number one cause of nail damage. If you see lifting, file the edge smooth and have it repaired properly.
Schedule regular fills. Acrylics and gels grow out and need to be filled every 2-3 weeks to maintain structural integrity and prevent lifting.
Protect your nails. Wear gloves for dishwashing, cleaning, and gardening. Avoid using your nails as tools—no opening cans or peeling stickers.
Know the risks. Allergic reactions to acrylic or gel ingredients are rare but possible. If you notice redness, itching, or swelling, remove the product immediately and consult a professional.
The Bottom Line
Acrylic and UV gel nails both offer beautiful, long-lasting results, but they serve different needs. Acrylics are the go-to for maximum strength and dramatic length. UV gels offer a natural, glossy, flexible finish that is easier on the nails. Your choice should reflect your lifestyle, nail health, and personal preference. Whichever you choose, proper application, regular maintenance, and aftercare will keep your natural nails healthy and your enhancements looking flawless.