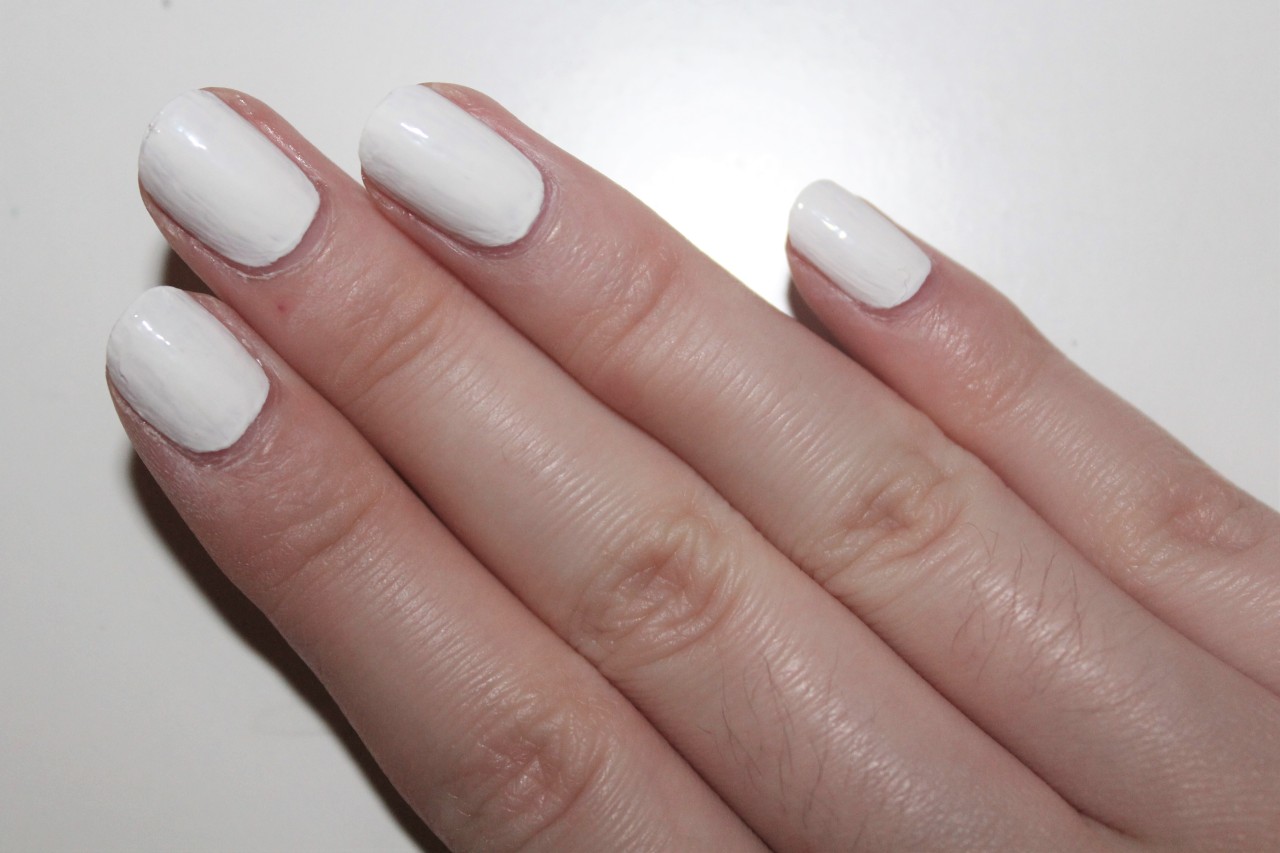
I used to be the person whose gel polish would start peeling after just five days. I’d spend an hour carefully painting my nails, only to wake up and find the tips already chipping. I assumed it was bad polish, or maybe my nails were just too oily. But then a nail tech friend watched my routine and pointed out the real problem: I was skipping the surface prep.
The longevity of a semi-permanent manicure depends almost entirely on how well the gel bonds to the nail plate. A smooth, shiny nail surface repels gel the way water beads off a waxed car. The fix? Creating micro-abrasions—tiny scratches that give the polish something to grip.
Enter mini sanding bands.
What Are Mini Sanding Bands and Why Do They Matter?
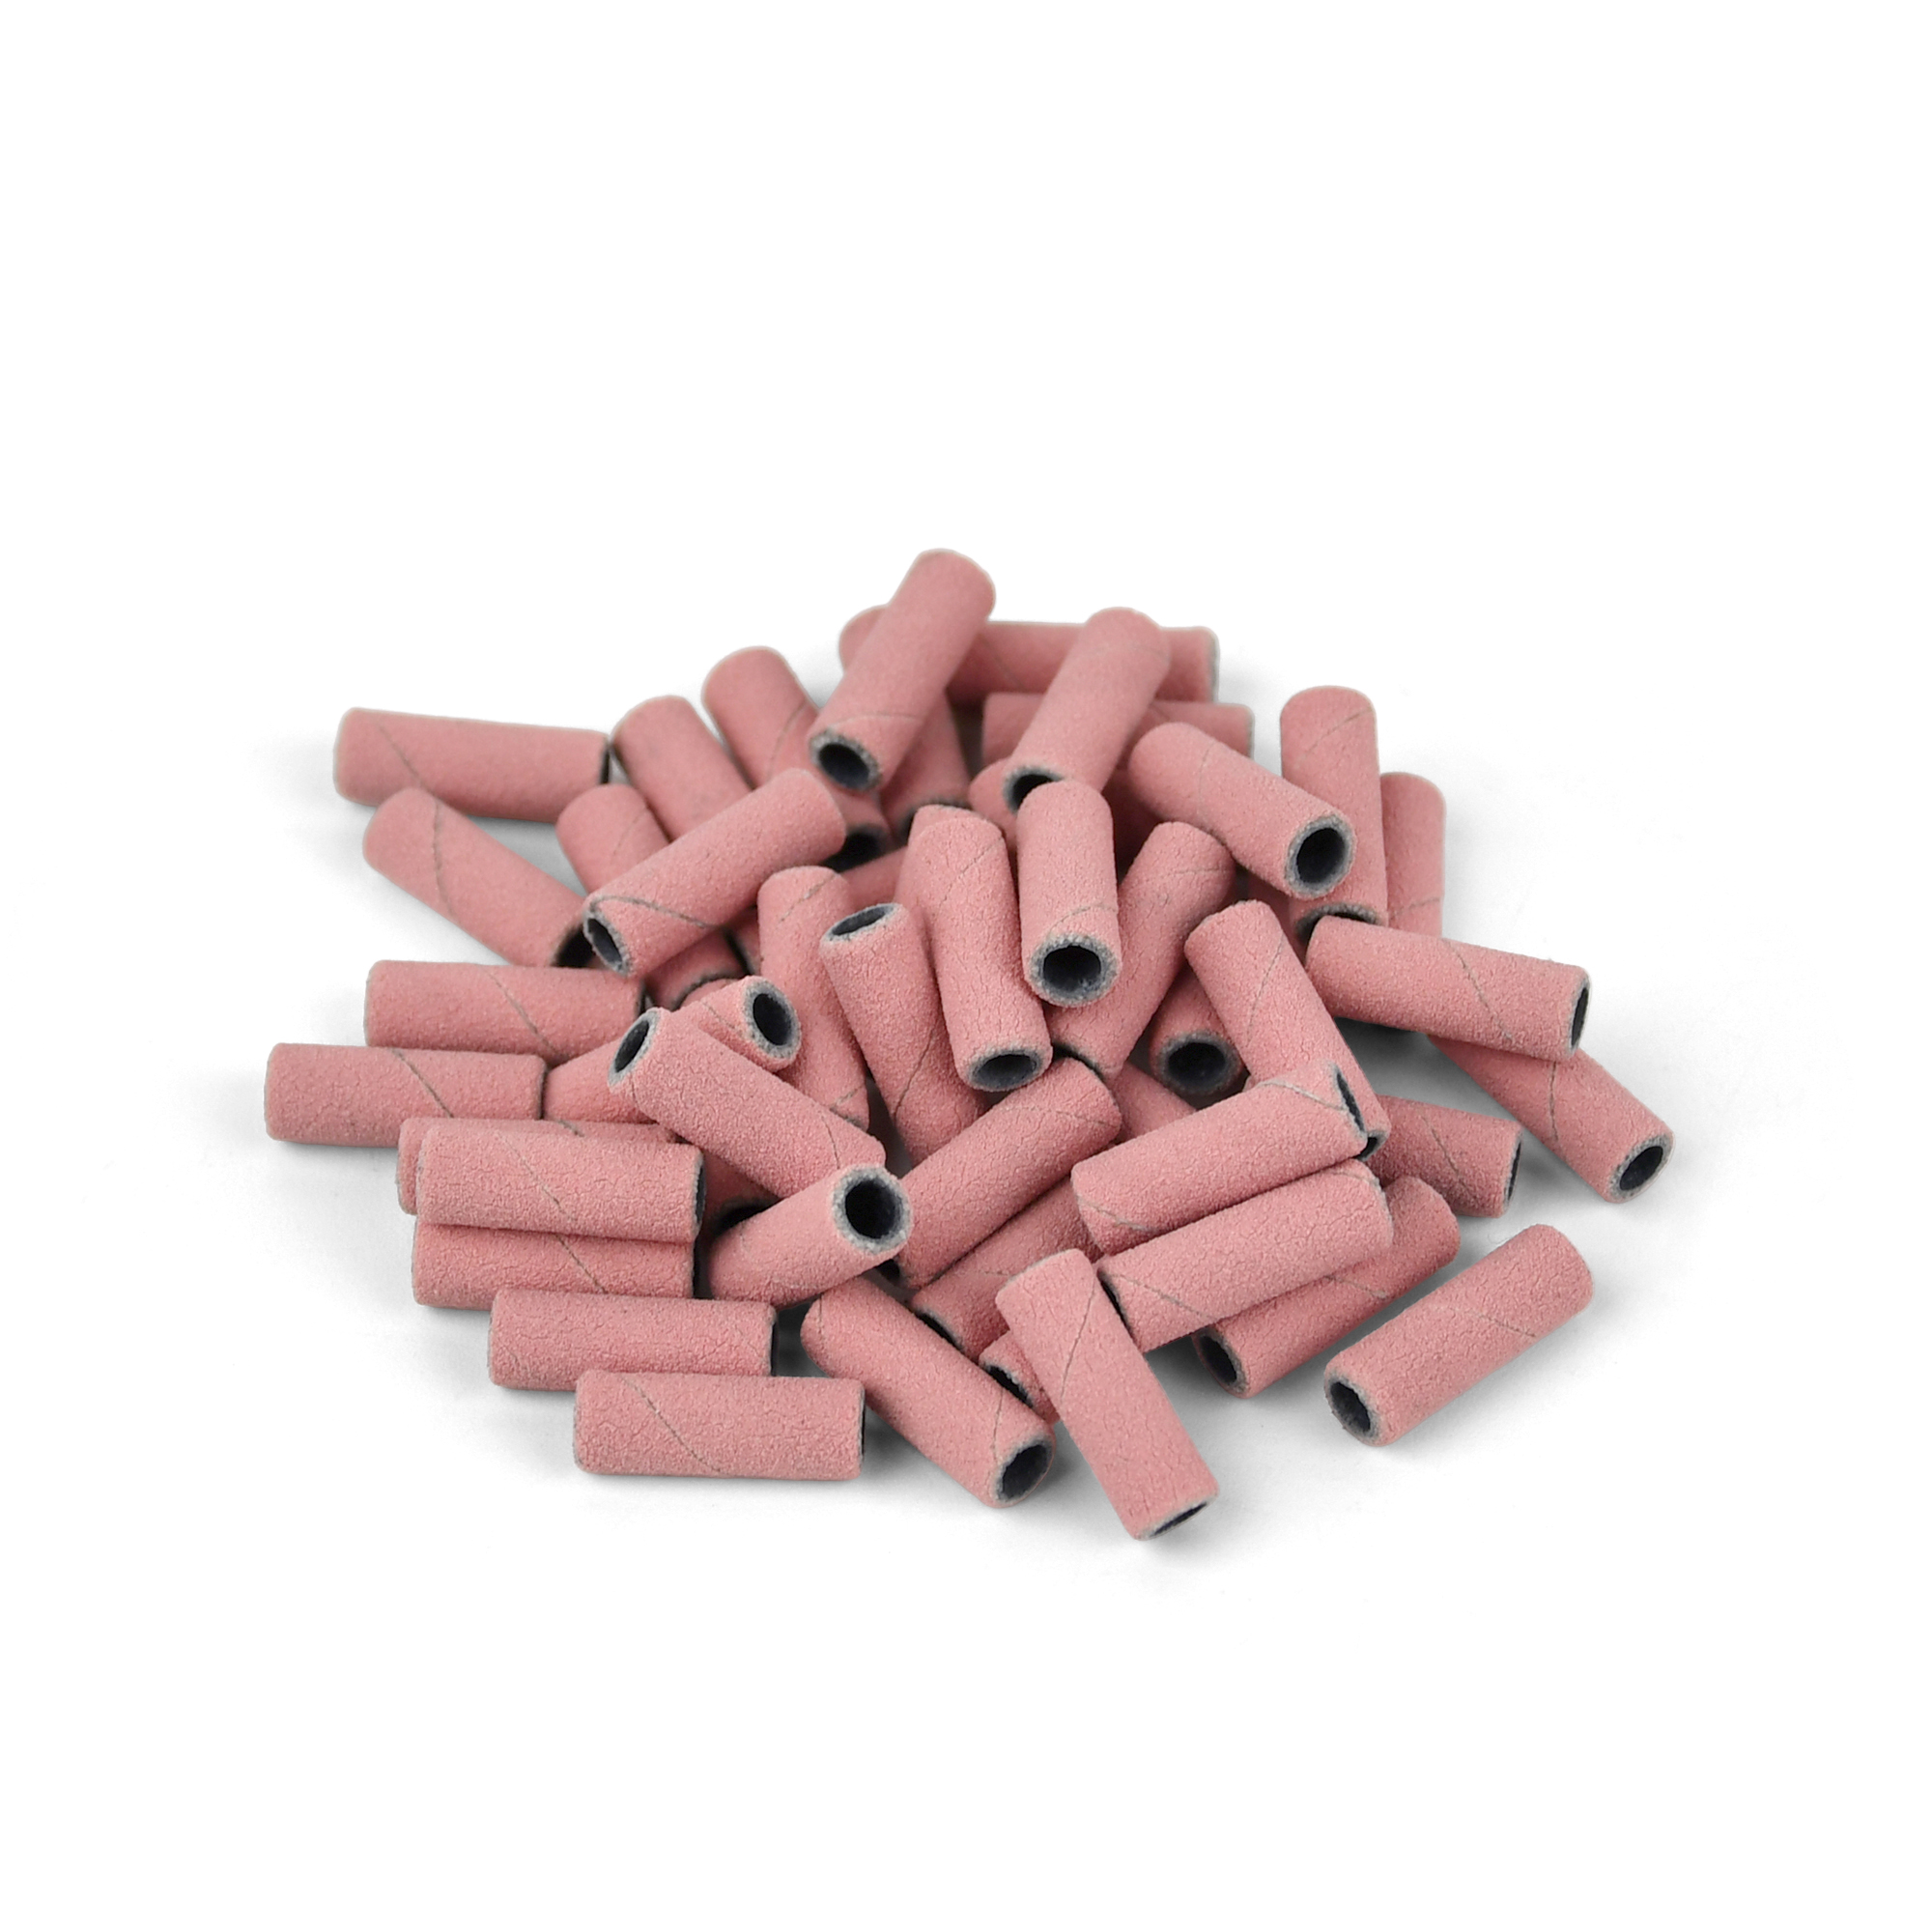
Mini sanding bands are small, cylindrical abrasive tools that attach to a mandrel on an electric nail file. Unlike standard sanding bands, which are about 12.77mm wide, mini bands are roughly 8.75mm wide—small enough to navigate tight curves around the cuticle and sidewalls without touching the skin. This smaller size allows for enhanced precision and control during nail prep and shaping.
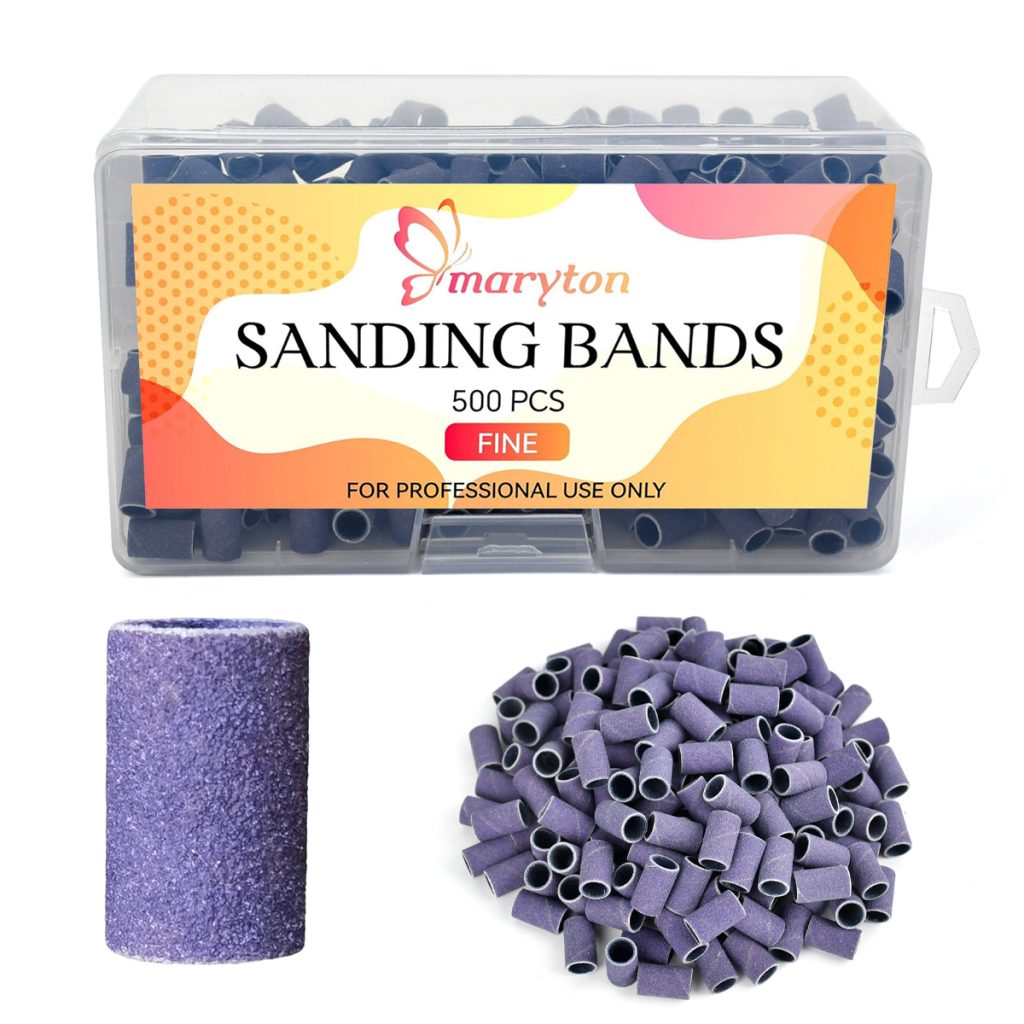
They come in different grit levels: coarse for heavy filing on acrylics, medium for surface smoothing and gel removal, and fine (240 grit) for finishing touches and buffing the natural nail. For natural nail prep, fine and medium grits are your best friends. A 240-grit band is extra gentle and ideal for buffing the nail surface without thinning the plate.
How Mini Sanding Bands Extend Your Manicure’s Life
Here’s the step-by-step method I’ve refined over years of trial and error.
1. Surface Preparation: The Make-or-Break Step
Before any gel touches your nails, you need to remove the natural shine. A shiny nail plate has no texture—gel will slide right off.
Using a fine-grit mini sanding band (240 grit) , set your e-file to a low speed—around 3,000 to 4,000 RPM. Lightly glide the band across the entire nail surface with minimal pressure. You’re not trying to thin the nail; you’re just removing the glossy top layer. The goal is a matte, slightly textured surface that gives the gel something to grab.
Pro tip: Move the band in short, overlapping strokes and keep it constantly moving. Staying in one spot creates friction, heat, and can damage the nail plate.
2. Cuticle and Sidewall Detailing
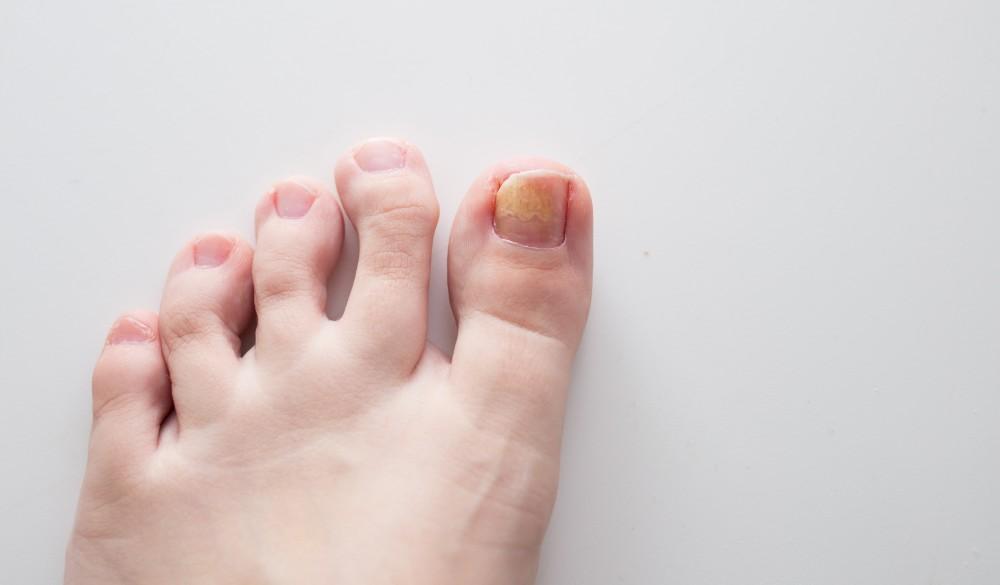
Lifting at the cuticle is one of the most common reasons gel manicures fail. When gel is applied over dead skin or invisible cuticle tissue, it has no solid foundation and will peel within days.
Switch to a medium-grit mini sanding band and reduce your speed to 5,000-7,000 RPM. Gently buff around the cuticle area and sidewalls to remove any dead tissue or residue. The mini band’s smaller size allows you to reach those tight corners that standard bands can’t access.
3. Perfect Gel Removal Without Damage
When it’s time to remove your gel polish and apply a fresh set, how you remove it determines the health of your natural nail—and thus the longevity of your next manicure.
Start with a fine-grit sanding band at 7,000 to 10,000 RPM. Gently buff off the shiny top coat, using light pressure. You’re not trying to remove all the color; just break the seal so acetone can penetrate. Then wrap each nail with acetone-soaked cotton and foil for 10-15 minutes. After soaking, the softened gel should slide off easily with a wooden pusher.
The key is leaving a thin layer of base coat on the natural nail. Filing down to bare nail thins the plate and weakens it over time.
4. Shaping and Smoothing
After removal, your natural nails may have minor ridges or unevenness. A 240-grit mini sanding band on low speed gently smooths these imperfections, creating a perfectly even canvas for your next gel application.
Pro Tips for Maximizing Results
Always use light pressure. Let the sanding band do the work. Pressing down creates heat and removes too much product too quickly.
Keep the bit moving. Never hover in one spot. Constant motion prevents friction burns and uneven filing.
Match the grit to the task. Use fine grit for natural nails, medium for gel removal, and coarse only for acrylics or hard gels.
Replace bands between uses. Sanding bands are single-use for hygiene. Using a fresh band each time ensures consistent performance and prevents cross-contamination.
Seal the free edge. After applying your fresh gel polish, cap the tip of each nail with base coat, color, and top coat. This seals the most vulnerable area where water enters and lifting begins.
The Bottom Line
A semi-permanent manicure can easily last 2-4 weeks with proper care. But that longevity starts with preparation. Mini sanding bands give you the precision and control to create the perfect canvas—gently textured, clean, and free of oils and debris—without damaging your natural nails.
The difference between a manicure that lasts three days and one that lasts three weeks isn’t luck. It’s prep. And mini sanding bands are the tool that makes it possible.
Read also: Gel Nails: A Durable Splash of Color and Strength