For anyone seeking a manicure that combines brilliant shine, extended wear, and significant strength, gel nails have become the go-to choice. Unlike traditional nail polish that air-dries, gel polish is a liquid formula that cures and hardens under a UV or LED lamp. The result is a hard, glossy finish that resists chipping, smudging, and fading for two to three weeks, or even longer.
The magic of gel lies in its chemistry. The formulas contain photoinitiators that react to specific wavelengths of light emitted by the lamp. This process, called polymerization, instantly transforms the liquid gel into a solid, durable layer. The standard application involves a base coat, two layers of color, and a top coat, each cured separately under the lamp.
The Foundation of Success: Proper Nail Prep
The longevity and health of your gel manicure hinge entirely on meticulous preparation. Skipping or rushing these steps is the primary cause of lifting, peeling, or premature chipping.
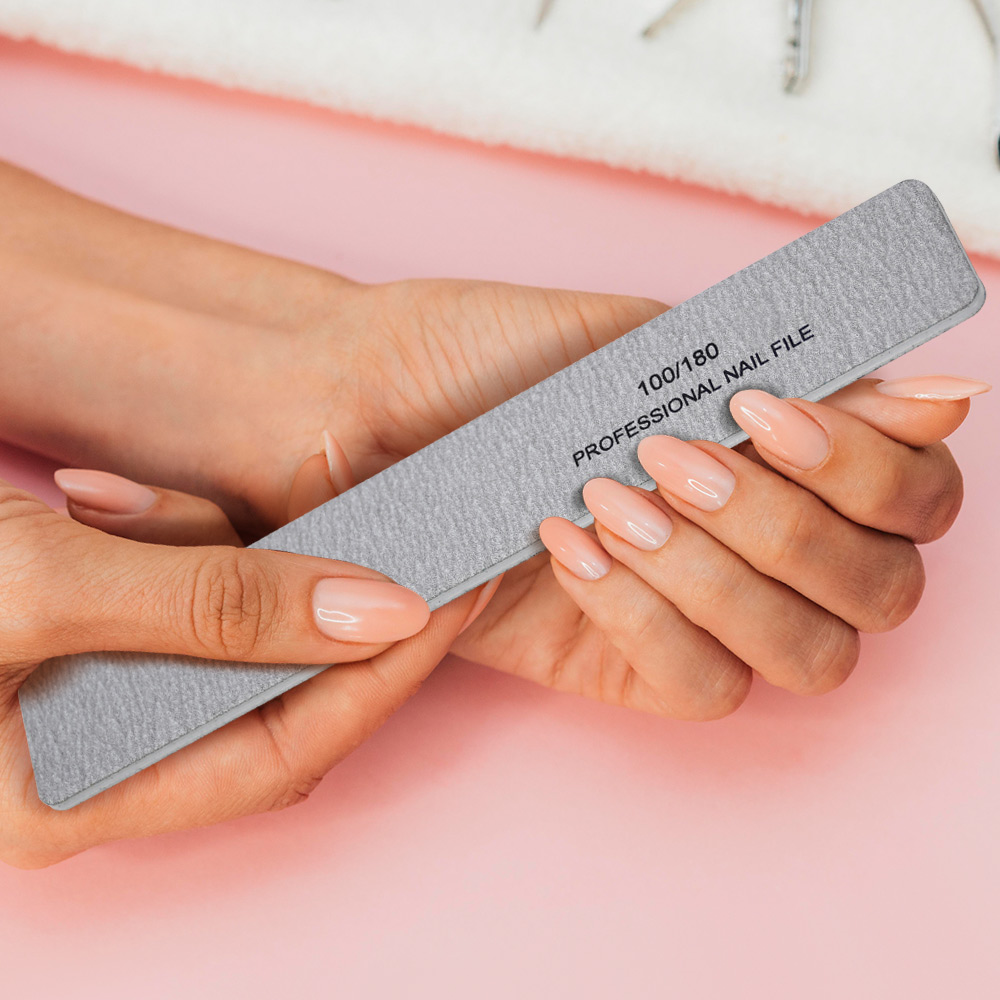
1. Sanitize & Shape: Begin by washing hands and sanitizing the nails. Gently push back the cuticles with a cuticle pusher. File nails to your desired shape using a fine-grit file, smoothing the edges to prevent snagging.
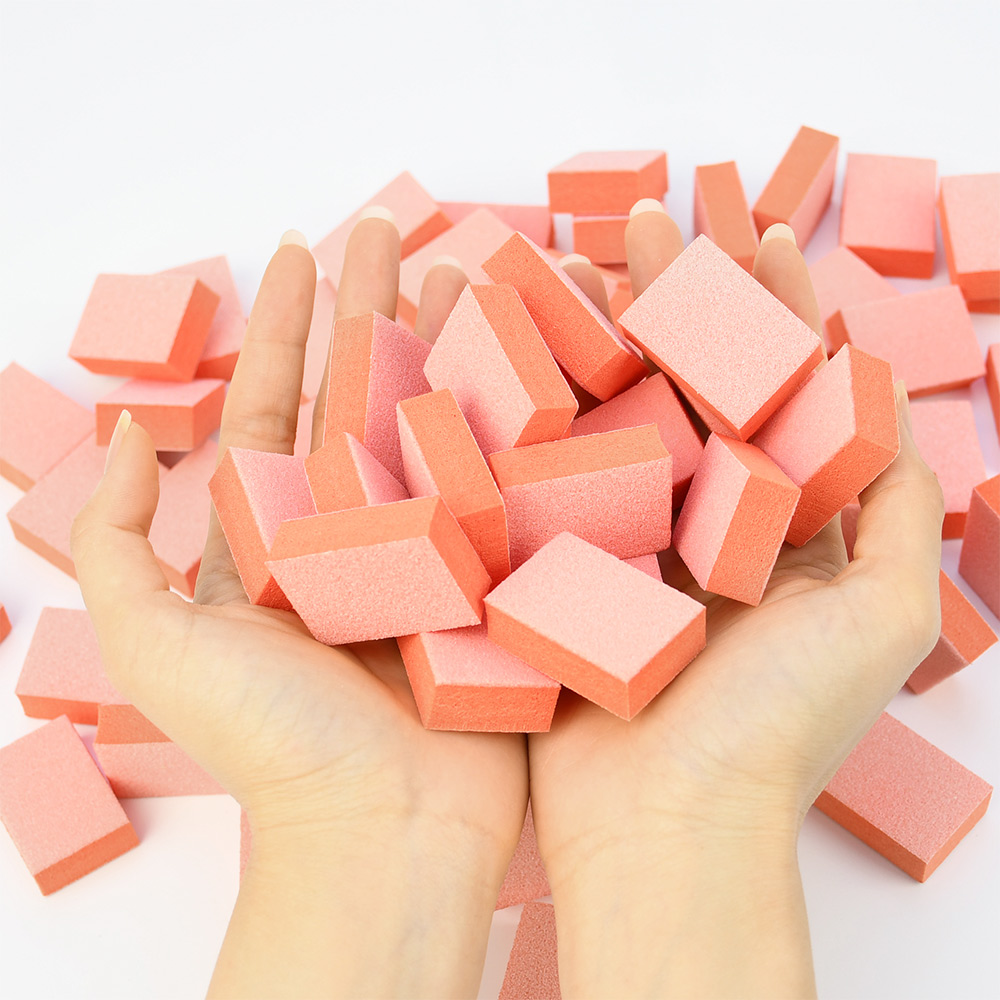
2. Buff the Surface: Lightly buff the entire nail plate with a buffer block. The goal is not to scrape away layers, but to remove the natural shine and create a slightly rough surface. This allows the gel to adhere much more effectively.
3. Clean & Dehydrate: Use a lint-free wipe soaked in high-percentage isopropyl alcohol (at least 90%) to thoroughly scrub each nail. This removes all dust, oils, and moisture—the enemies of adhesion. A dedicated nail dehydrator can be used for this step as well.
4. Apply Primer (Optional but Recommended): A thin layer of acid-free or non-acid primer helps to further dehydrate the nail and improve bonding, especially for those with oily nail beds.
Building Length: Gel Extensions Without Tips
You don’t need artificial tips to create longer nails. Gel can be used to build elegant extensions directly on your natural nail using a technique that requires a paper form.
1. Attach the Form: After prep, select a paper form that fits snugly under the free edge of your nail. Adhere it securely to create a contoured platform that extends beyond your natural nail tip.
2. Build the Structure: Apply a thin layer of clear or pink “builder gel”—a thicker, stronger gel designed for structure. Carefully sculpt the gel over your natural nail and onto the form, creating an arch (apex) for strength and shaping the free edge. This requires practice to avoid a bulky look.
3. Cure & Refine: Cure the builder gel fully under the lamp. Remove the form. Now you have a clear gel extension. Shape it further with a nail file, refining the length and silhouette before proceeding with your color gel application as usual.
Maintenance: The Gel Nail Refresh
As your natural nails grow, a gap appears at the cuticle. A “fill” or repair session can refresh the manicure.
Process: The technician files down the top coat and regrowth area, carefully fills in the gap with new builder gel to reestablish the structure, then applies fresh color and top coat.
The Pros and Cons of Gel Manicures
Advantages:
- Durability: Highly resistant to daily wear and tear.
- Long-Lasting Shine: Maintains a just-done, glossy look for weeks.
- Strength: Acts as a protective shield, helping natural nails grow longer underneath by preventing breaks.
- Quick Drying: Curing under the lamp is instantaneous, eliminating smudge anxiety.
Disadvantages:
- Professional Removal is Crucial: Peeling or picking gels off can strip layers of your natural nail, causing severe thinning and damage. Safe removal involves filing off the top layer and soaking in acetone.
- Potential for Allergies: Repeated exposure to uncured gel (from incomplete curing or skin contact) can lead to allergic reactions.
- UV Exposure: While minimal per session, the use of UV lamps has raised concerns. Applying broad-spectrum sunscreen to hands or using LED lamps (which cure faster and emit a narrower light spectrum) can mitigate this.
- Cost & Commitment: More expensive than regular polish and requires salon visits for proper application and removal.
In conclusion, gel nails offer a fantastic balance of beauty and resilience. Their success depends on flawless preparation, skilled application (especially for extensions), and responsible, professional removal. When done correctly, they provide a stunning, long-wearing enhancement that allows for creative expression and stronger nails. Always prioritize nail health by choosing reputable salons and giving your nails a breather between sets.
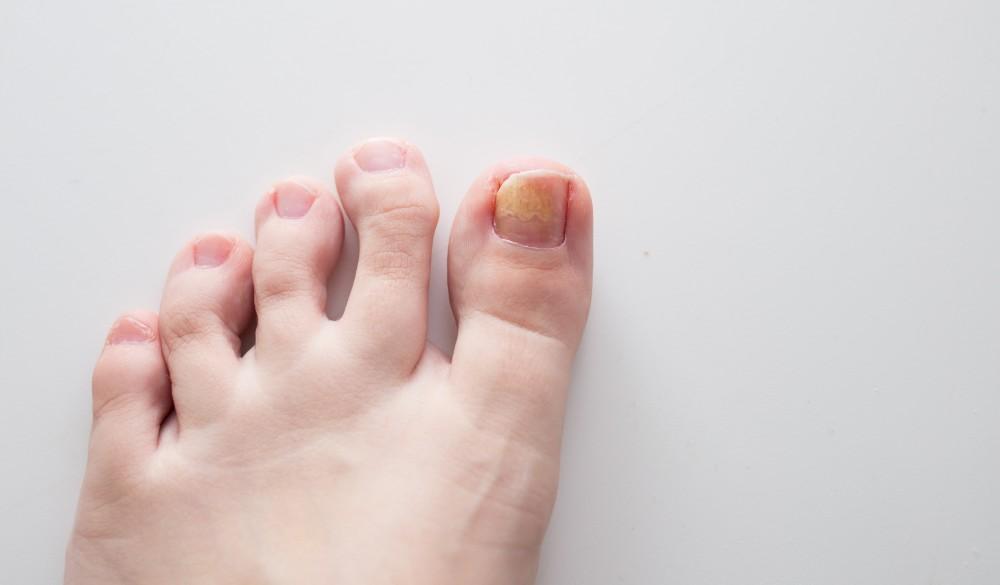
Read also: Toenail Fungus Causes, Treatments, and Prevention